Overview
Custom SIP trunk integration allows you to bring your own phone numbers from external SIP providers to telli.Custom SIP trunks work alongside telli-provided numbers. Use both or either
based on your needs.
Configuration
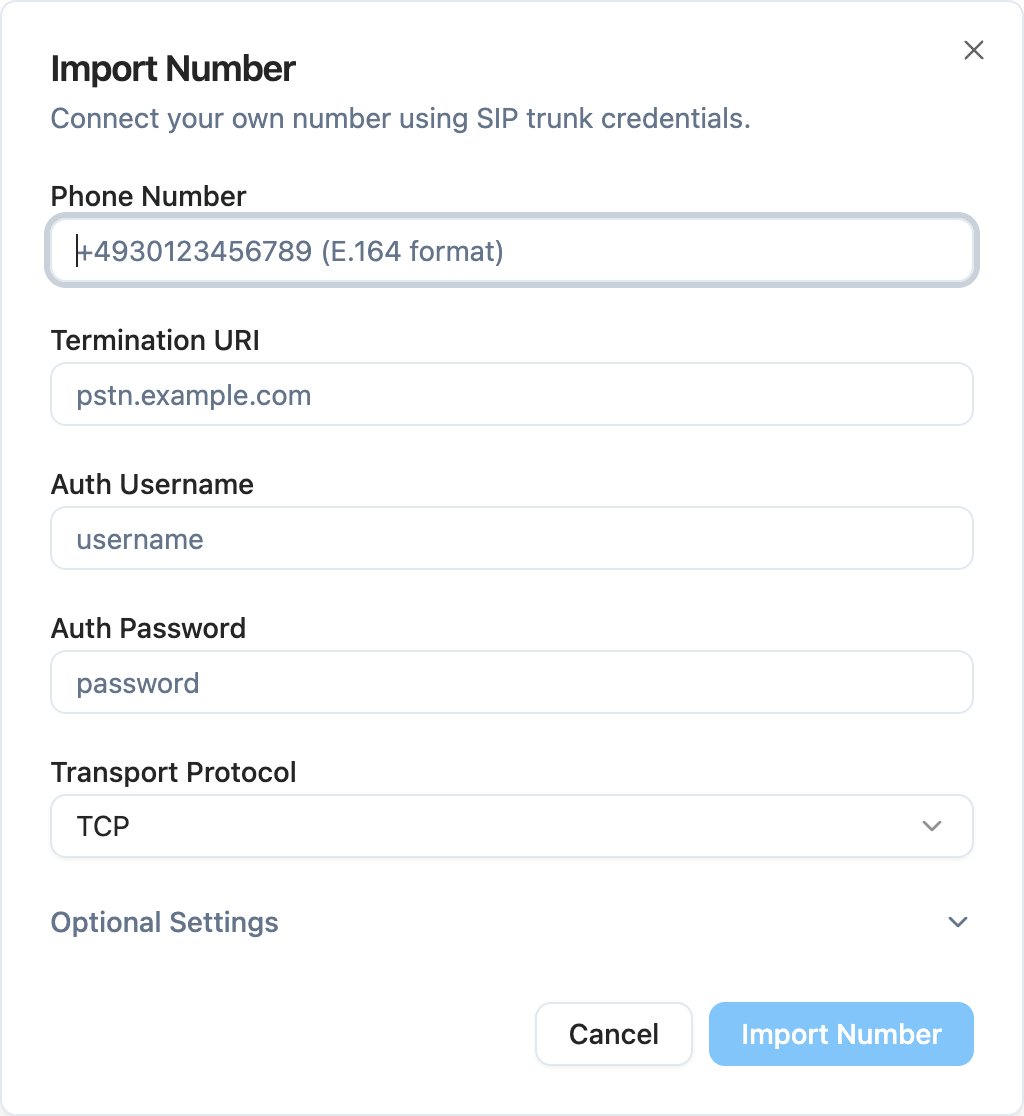
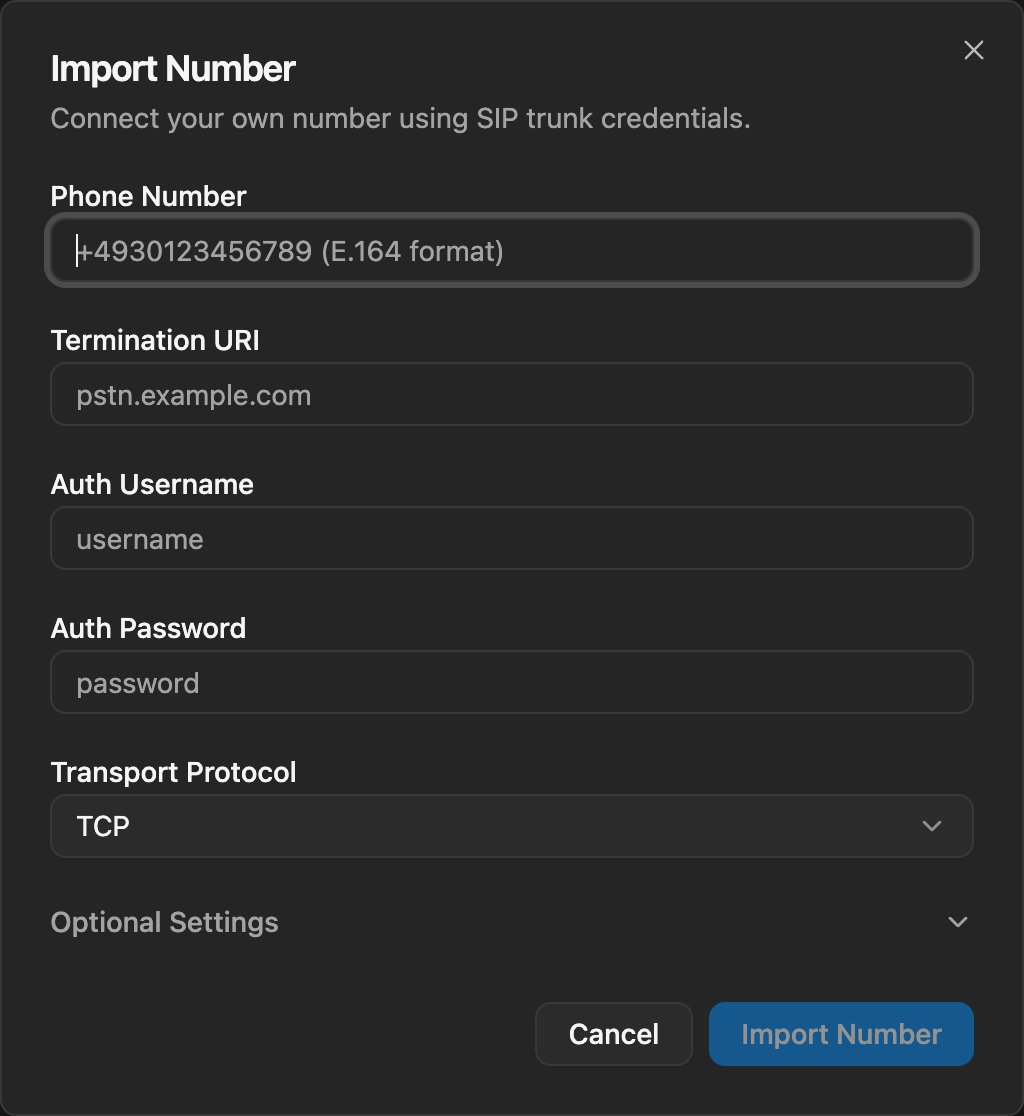
To import a SIP number, configure both sides of the connection:- In telli, add the phone number, provider termination URI, SIP credentials, and transport protocol. These settings let telli place outbound calls through your provider.
- In your SIP provider, route inbound calls for that number to telli. Provider names differ, but the inbound destination is always:
| Field | Description | Example |
|---|---|---|
| Phone Number | Your phone number in E.164 format | +14155551234 |
| Termination URI | Provider hostname for outbound calls | pstn.provider.com |
| Auth Username | SIP authentication username | user123 |
| Auth Password | SIP authentication password | securepass456 |
| Transport Protocol | SIP transport protocol. Supported values are TCP, UDP, and TLS. Defaults to TCP. | TCP |
TCP.
Adding a Custom SIP Trunk
Provider Examples
Use these examples to map provider settings to the telli fields. Each provider setup includes inbound routing to telli and the outbound termination settings you enter in telli.Twilio Elastic SIP Trunking
Create or open an Elastic SIP Trunk
In Twilio Console, create an Elastic SIP Trunk or open the trunk used by
your imported number.
Route inbound calls to telli
Go to Origination and add
sip:axg8odfh9dw.sip.livekit.cloud as the
Origination URI.Configure outbound settings
Go to Termination and note the Termination URI, for example
your-trunk.pstn.twilio.com or your-trunk.pstn.frankfurt.twilio.com.
Under Authentication > Credentials, create a username and password.Telnyx
Create an FQDN SIP connection
In Telnyx, create a SIP connection and select the FQDN connection type.
Route inbound calls to telli
In Authentication and Routing, add
axg8odfh9dw.sip.livekit.cloud as
an FQDN and set DNS Record Type to SRV. Do not include the sip:
prefix in this Telnyx field.Configure outbound credentials
Configure credential-based authentication with a username and password.