
Overview
telli supports multiple calendar integrations so your agents can check availability and book appointments during calls. In the telli app, open an agent and go to Calendar Integration to choose the calendar setup that fits that workflow.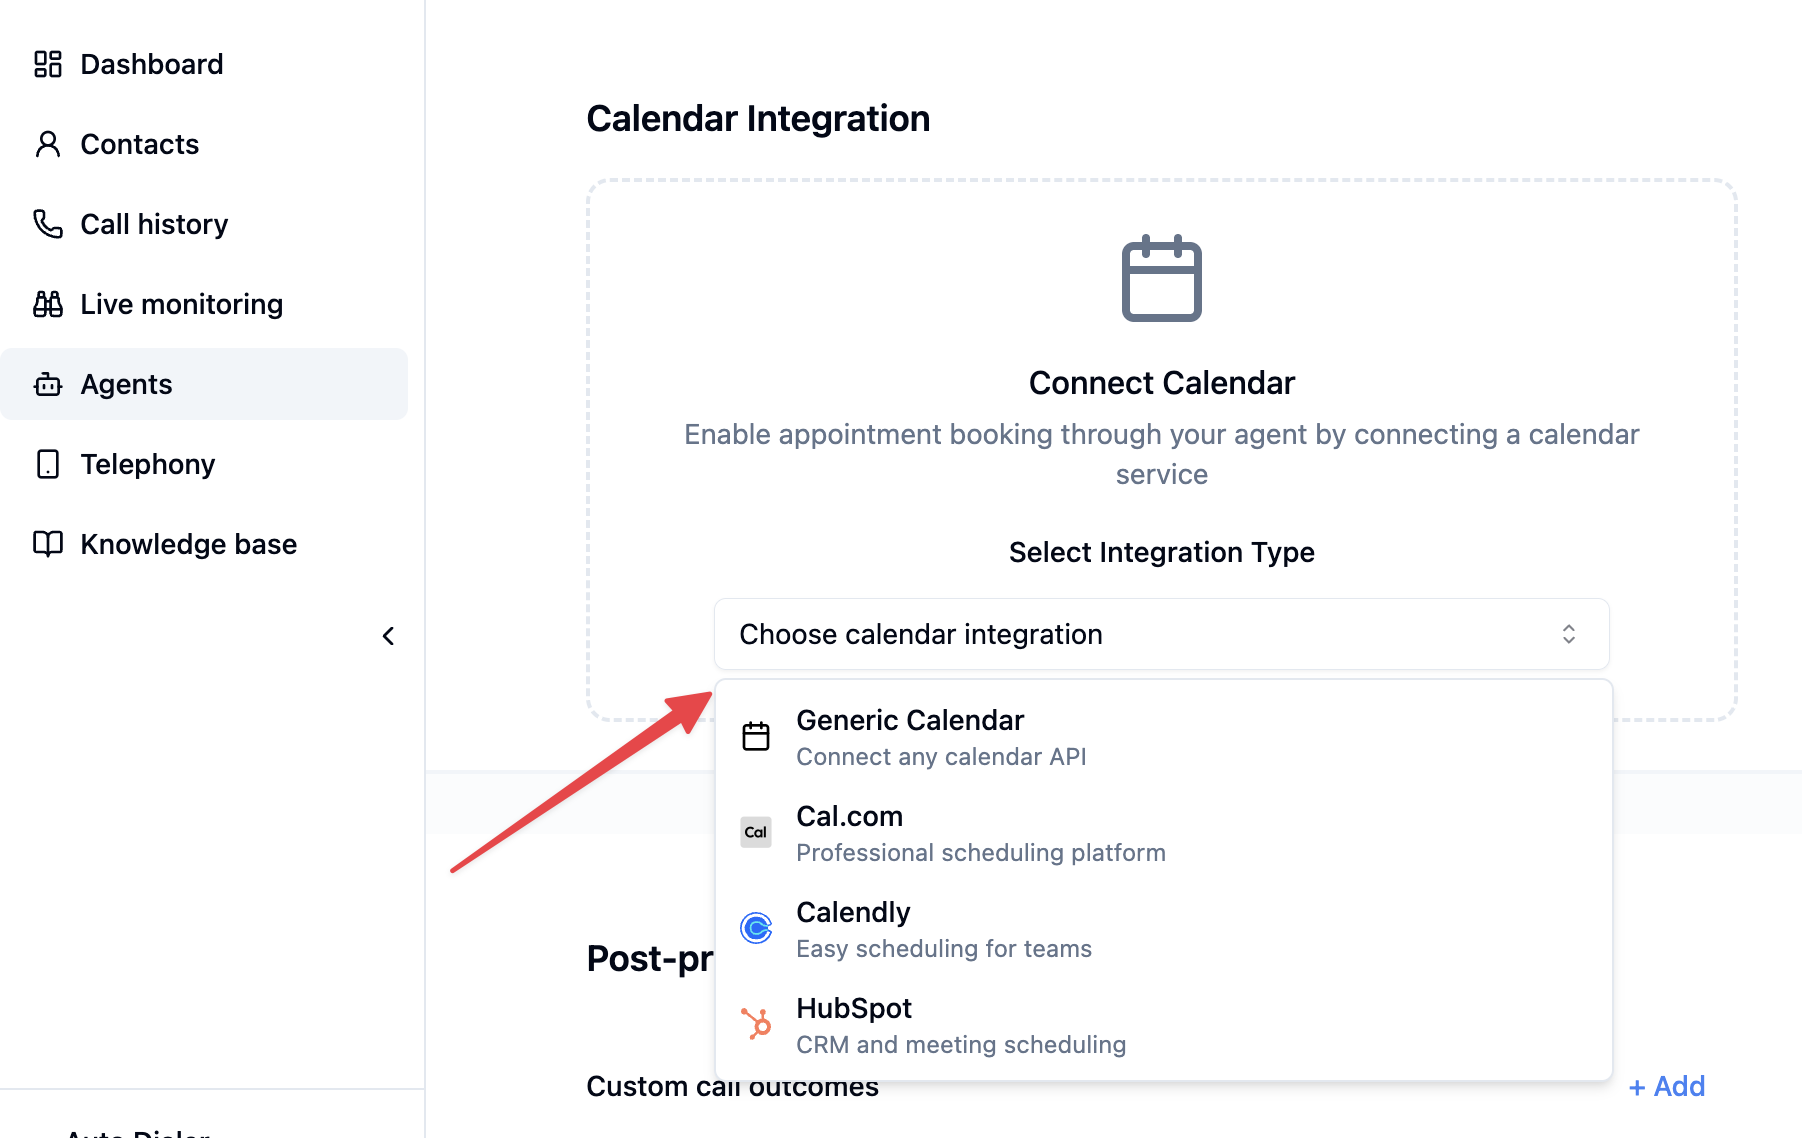
Integration options
Calendly
Use Calendly when you want telli to book against an existing Calendly event type and fill booking fields dynamically during the call.Zeeg
Use Zeeg when you want telli to book against existing Zeeg scheduling pages and fill custom invitee questions during the call.Cal.com
Use Cal.com when your team already manages scheduling through Cal.com and you want agent-specific event routing.HubSpot Meetings
Use HubSpot Meetings when appointments should be booked through HubSpot meeting links.Custom calendar
Use a custom calendar when you want telli to call your own scheduling API instead of a built-in provider.Which option should you choose?
- Choose Calendly, Zeeg, Cal.com, or HubSpot Meetings when you already use one of those scheduling tools
- Choose Custom calendar when you need telli to work with your own booking system or internal scheduling API
- Configure calendar integrations per agent when different agents should book for different teams, reps, or workflows