Skip to main content
Follow these steps to enable and use the telli community node in your n8n workspace.
Video Tutorial
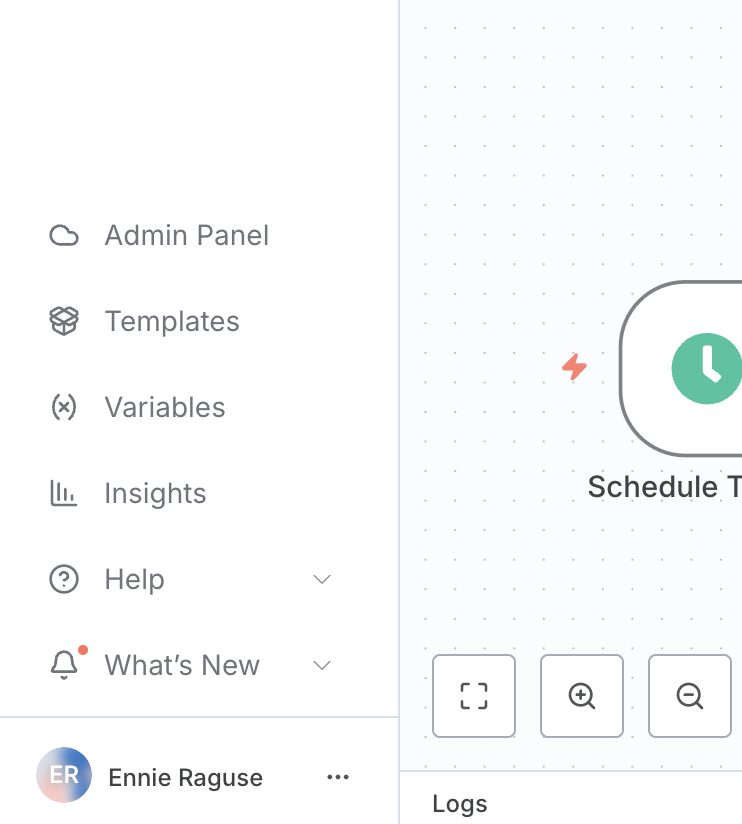
Step 1: Access the Admin Panel
- Log into your n8n workspace
- In the left sidebar, click on “Admin Panel” (the cloud icon)
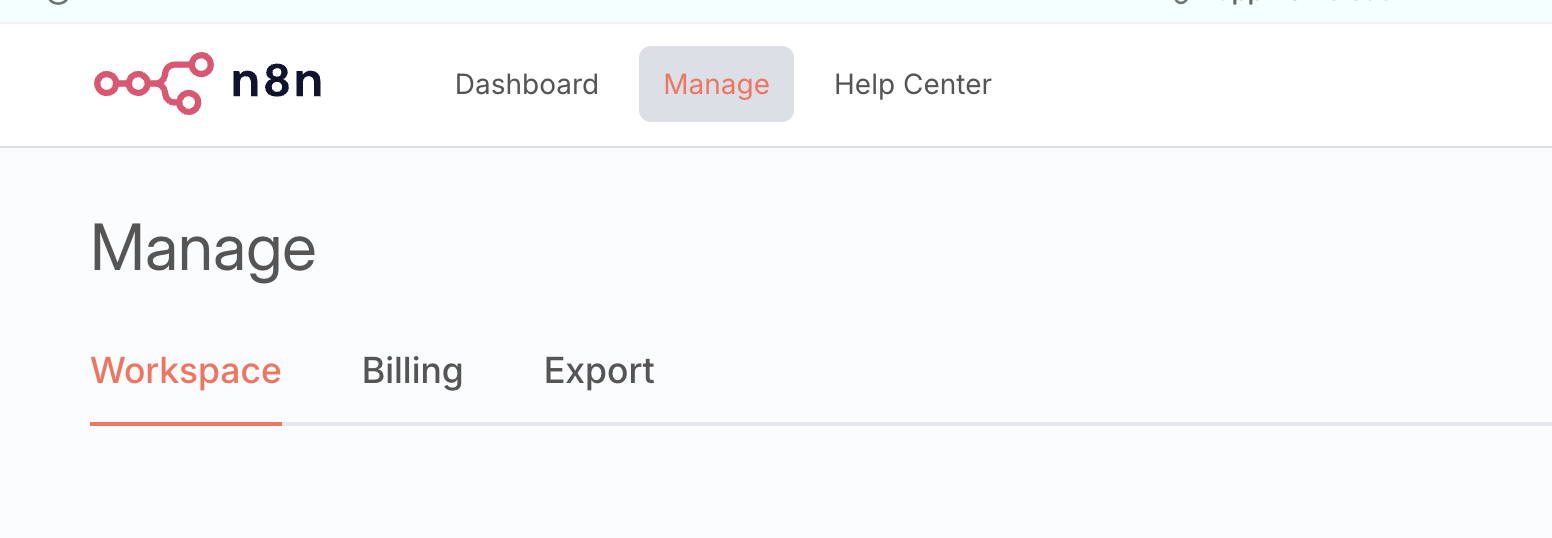
Step 2: Navigate to Workspace Settings
- In the top navigation bar, click on “Manage”
- In the secondary navigation bar, select “Workspace”
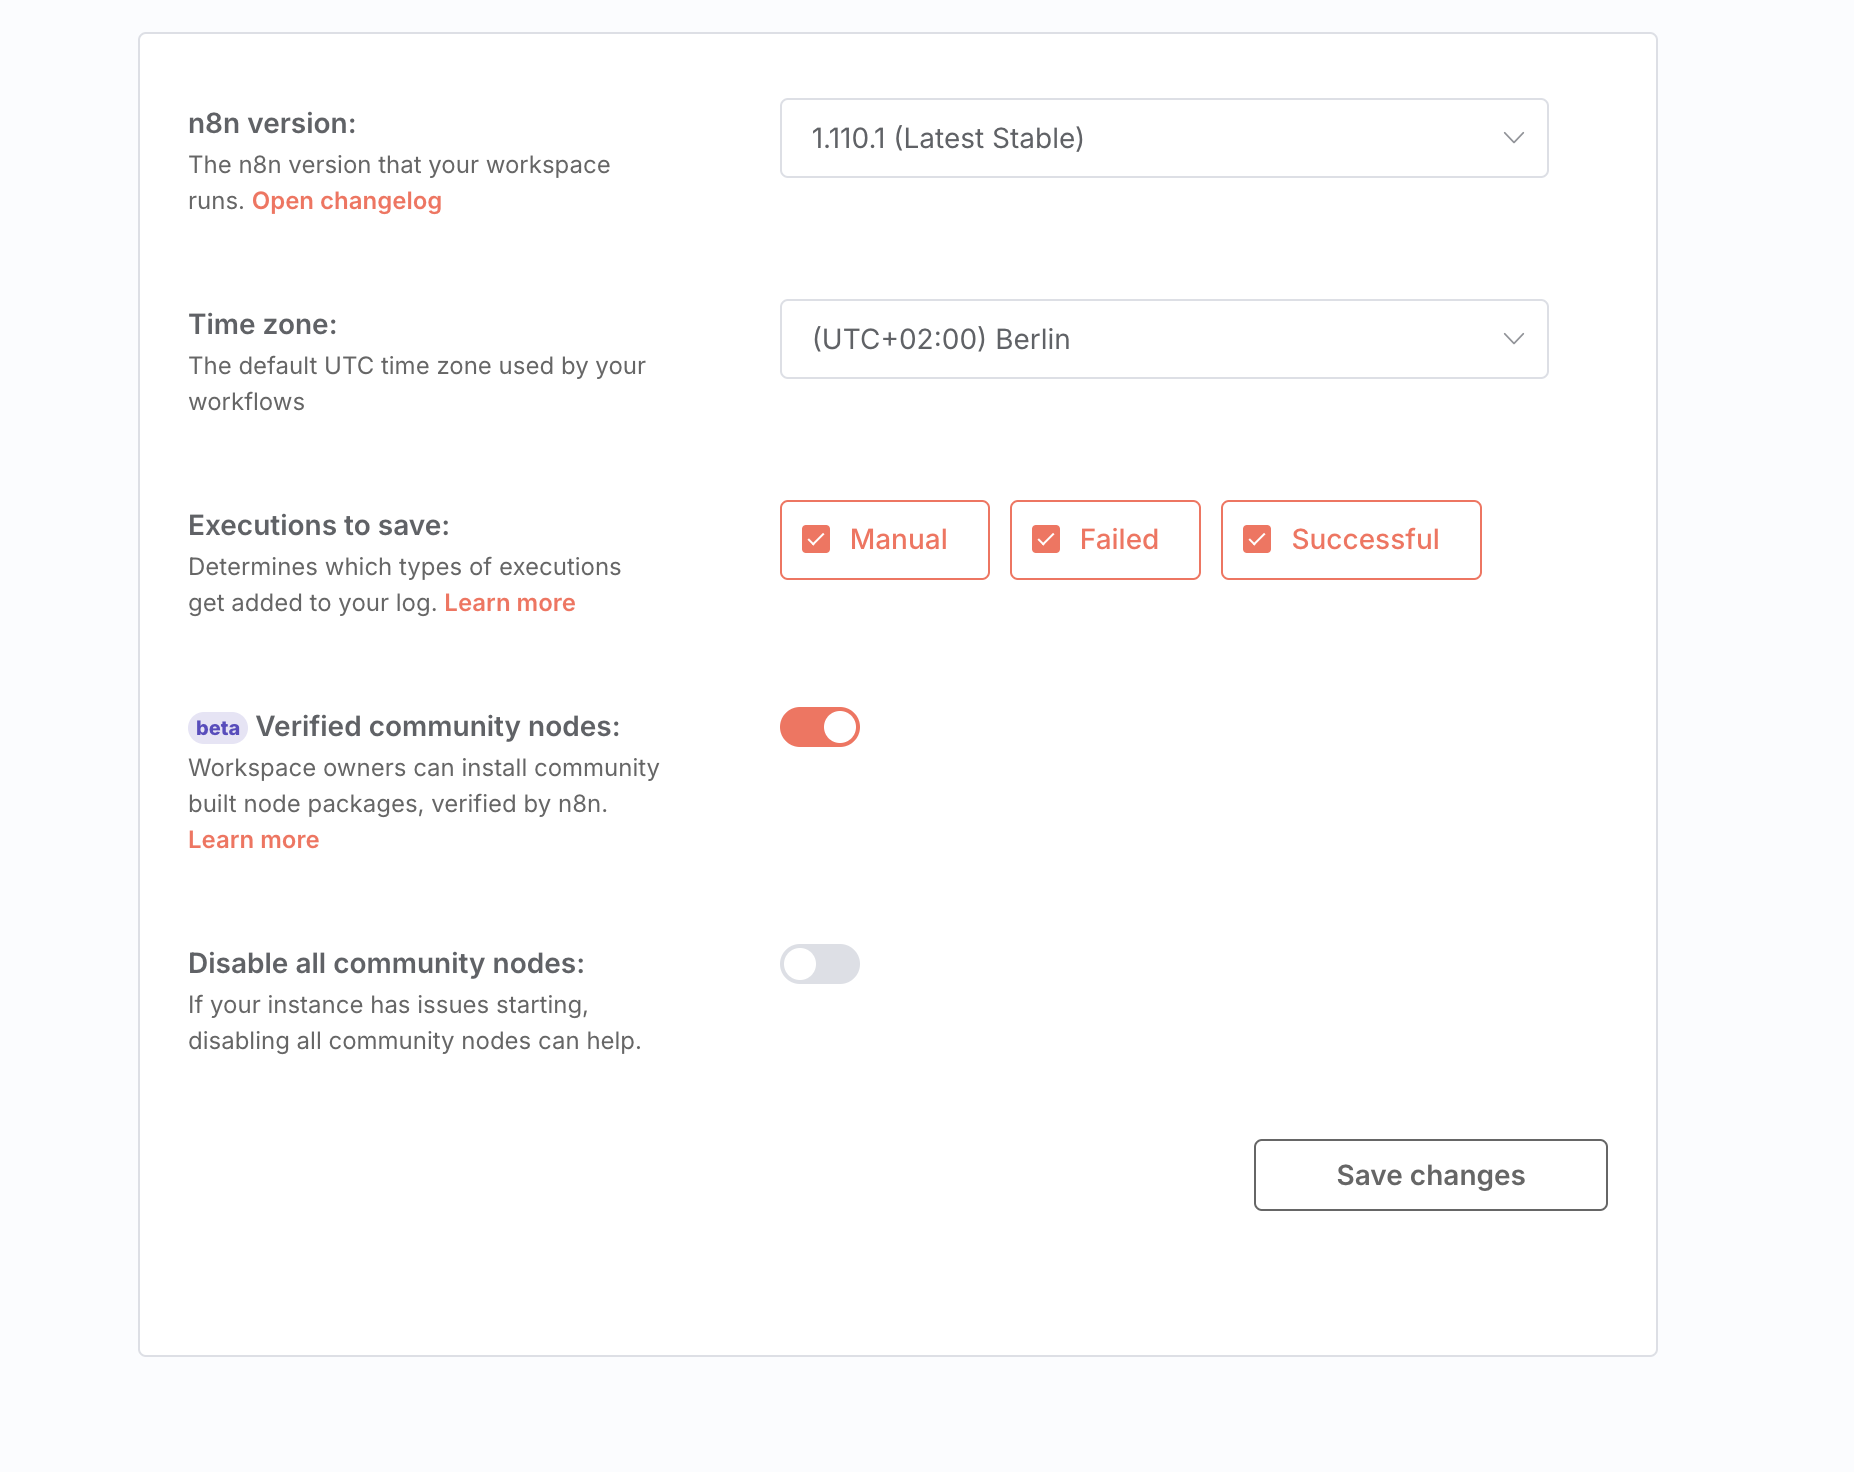
- Scroll down to the “Verified community nodes” section
- Toggle the switch to “on” (it should turn orange when enabled)
- Click “Save changes” at the bottom right
Step 4: Install and Use the telli Node
- Go back to your workflow canvas
- Click the ”+” button to add a new node
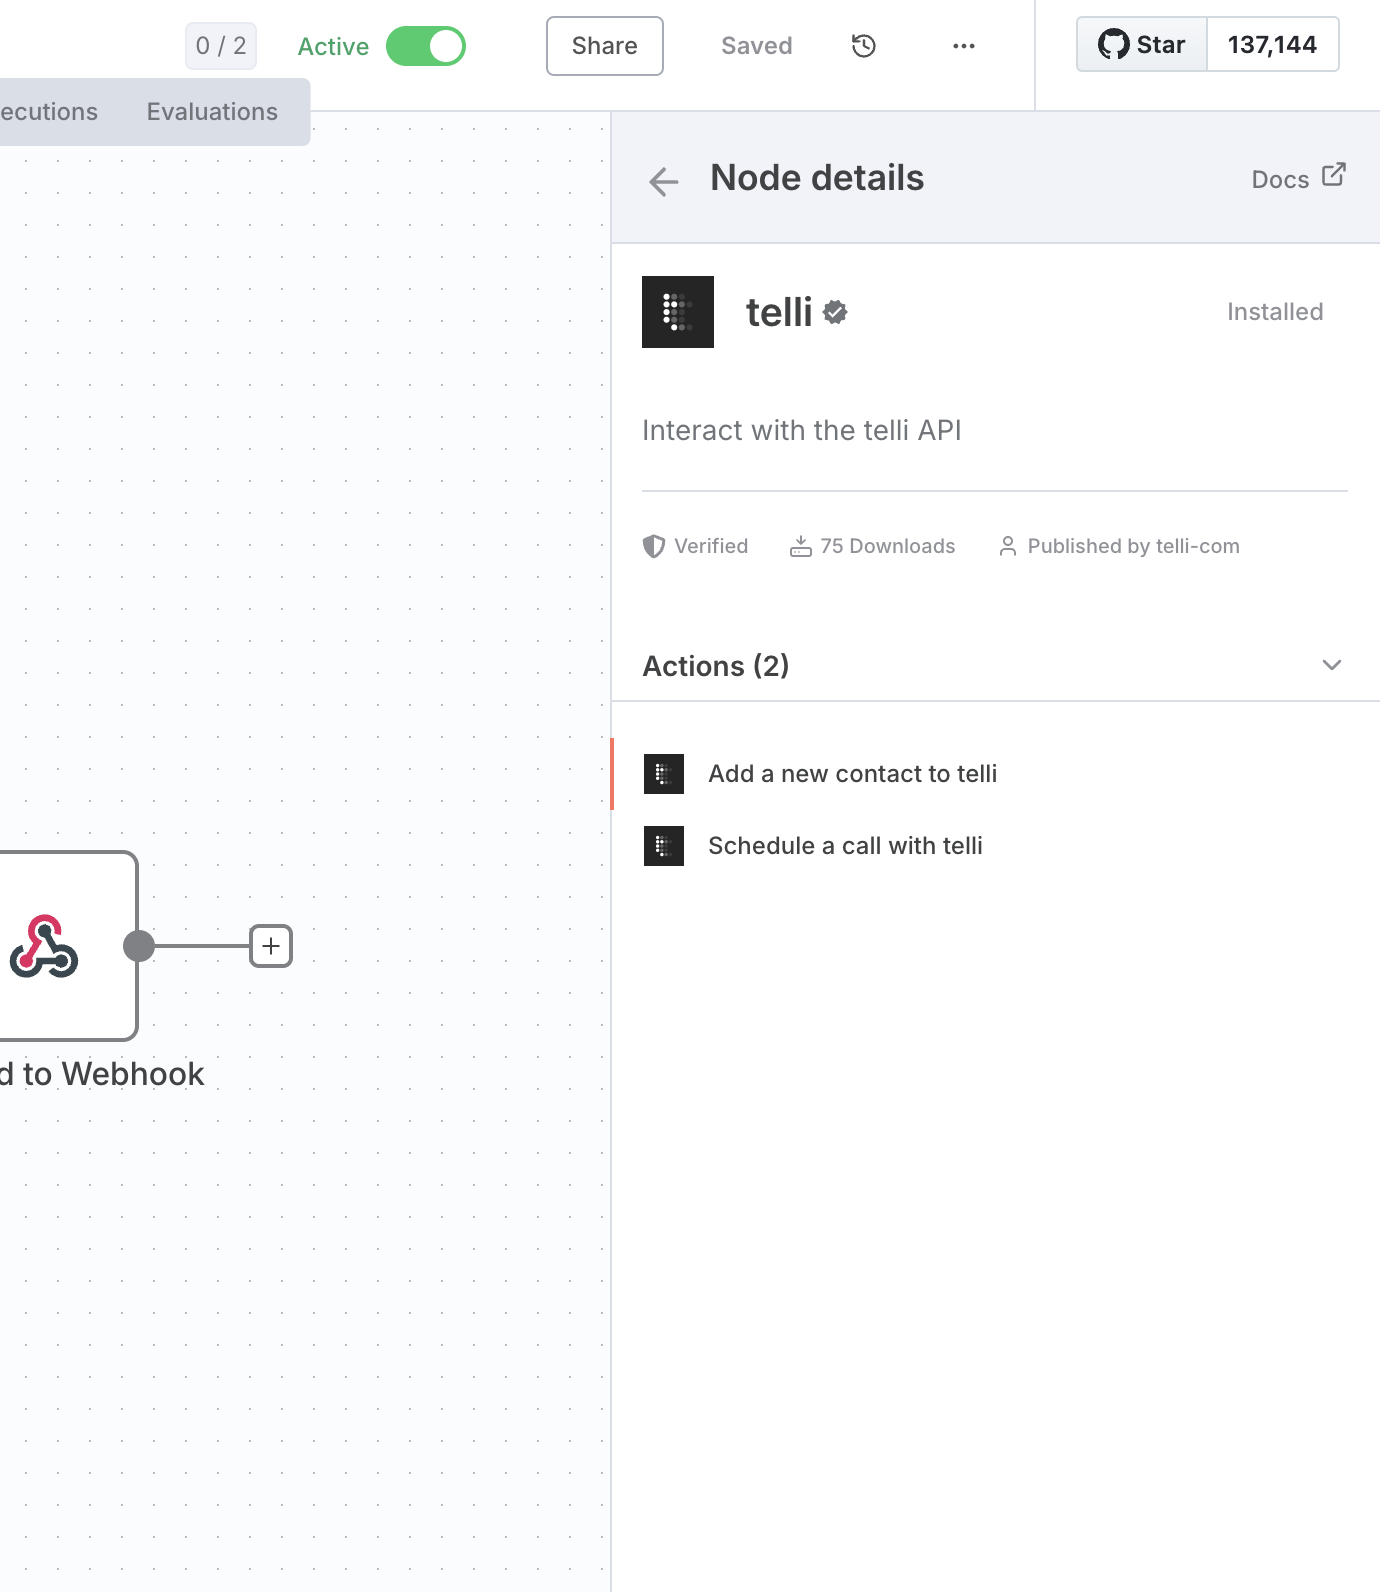
- Search for “telli” in the node search
- Select the telli node (it will show as verified with a green checkmark)
- The telli node provides two actions:
- Add a new contact to telli
- Schedule a call with telli
Get the n8n workflows
Next Steps
Once you’ve enabled the telli community node, you can:
- Create workflows that automatically add contacts to telli
- Schedule AI voice calls based on triggers from other systems
- Update your CRM with call outcomes and appointment status
- Integrate with popular tools like Airtable, Google Sheets, and more
The telli node is verified by n8n and provides a secure way to interact with the telli API directly from your automation workflows.